How to Slow Down a Video on iPhone (Step-by-Step Process)
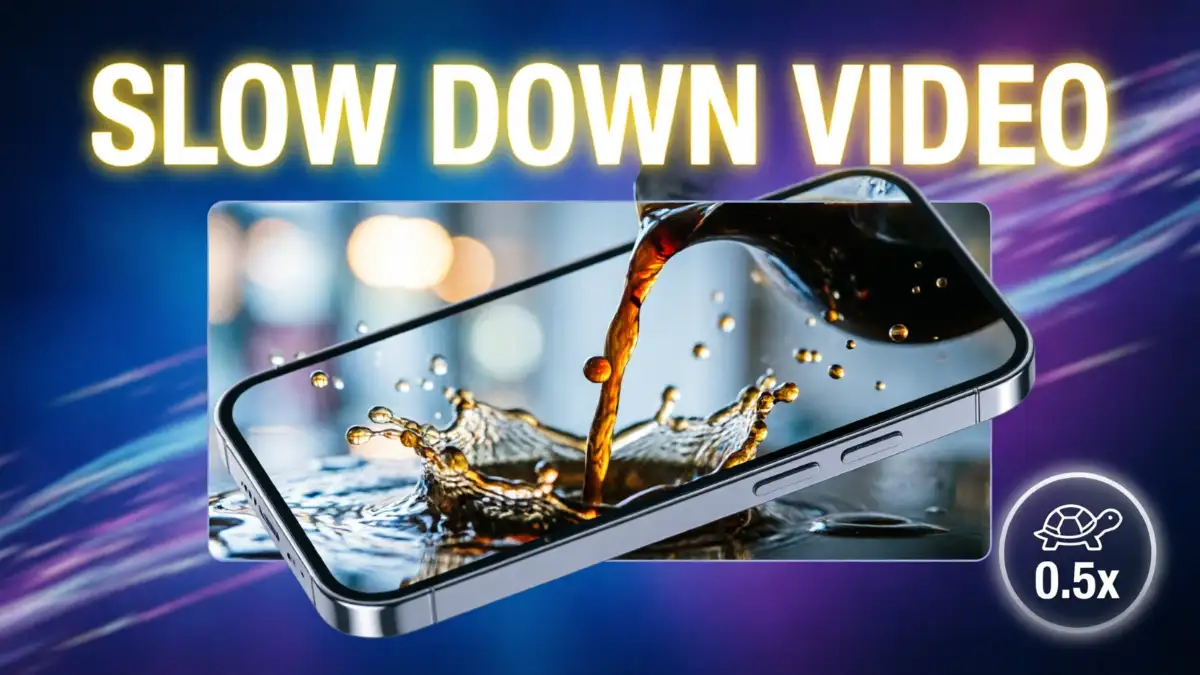
There is something truly beautiful about slow-motion video. Whether you want to showcase that special moment when a dog catches a frisbee, capture small ant activity by the mouth, capture the fine splashes as coffee is poured, or add a dramatic, cinematic flair to your travel clips, slowing down the footage is one of the most effective mobile editing techniques.
Fortunately, your iPhone has built-in tools to do this. However, a common point of confusion is that the native Photos app can’t change the playback speed of standard 24 fps or 30 fps clips.
In this guide, we share the best ways to slow down any video on your iPhone, from Apple’s free iMovie app to native Photos adjustments and AI-powered third-party editors.
The Golden Rule of iPhone Slow-Motion
Before editing, it helps to understand frame rates:
- Standard Video (24, 30, or 60 fps): Recorded at normal capture rates. Slowing a 30 fps clip down without specialized software will cause visible stuttering because there aren’t enough frames to fill the gap.
- Slo-Mo Video (120 or 240 fps): In this, captured at ultra-high frame rates specifically designed to stretch out smoothly. These can be adjusted directly inside the native Photos app.
Method 1: The Best Free Way for Standard Videos (Using iMovie)
If you have a regular video and want to slow it down without paying for an app or dealing with watermarks, Apple’s free iMovie is the most reliable option.
- Download iMovie App: Get it free from the App Store if it isn’t already installed.
- Start a Project: Open iMovie, tap Start New Project, and select Movie.
- Select Your Video: Choose your clip from your media library, then tap Create Movie at the bottom.
- Access the Speed Tool: Tap the video strip in the timeline so it is highlighted in yellow. Tap the Speedometer icon in the bottom toolbar.
- Adjust the Speed: Drag the slider toward the turtle (left) to reduce speed (e.g., 1/2×, 1/4×, or 1/8×).
- Handle Audio: Slowing down footage deepens and distorts the native audio. Tap the Volume icon to mute the clip, or split the audio track if you plan to replace it with music.
- Export the Video: Tap Done in the top-left corner, tap the Share icon (square with an upward arrow), and select Save Video to export the rendered clip to your camera roll.
Pro Tip: To slow down only a specific segment in iMovie, move the playhead to where the slow-mo should start, tap Actions > Split, move to the end point, tap Split again, and apply the speed change strictly to that isolated middle block.
Method 2: Editing Native Slo-Mo Clips (Using the Photos App)
If you recorded your clip using the iPhone camera’s dedicated Slo-Mo mode, you can control precisely where the slow-motion begins and ends right in your library.
- Open the Photos App: Navigate to Albums > Media Types > Slo-mo and tap your video.
- Enter Edit Mode: Tap Edit (or the slider edit icon) in the top corner.
- Locate the Speed Bar: Directly beneath the video frame strip, locate the row of vertical tick marks:
- Closely spaced tick marks represent normal playback speed.
- Widely spaced tick marks represent the slowed-down section.
- Adjust the Timing: Drag the taller boundary handles on either side of the widely spaced section to expand or narrow the slow-motion portion.
- Save Changes: Tap Done to commit the edit. This adjustment is non-destructive; you can revert to the original speed at any time.
(Note: On iOS 18 and newer, if you shoot standard video at 60 fps or 120 fps, you can also tap the playback speed menu directly inside Photos edit mode to select 0.5× or 0.25× speed.)
Method 3: The “Buttery Smooth” Method for 30 fps Video (Using CapCut or VN)
If you drop a standard 30 fps video to 50% speed in a basic editor, playback drops to 15 fps—resulting in jittery, stroboscopic footage.
To fix these issues, modern editors like CapCut or VN Video Editor use AI frame interpolation (Optical Flow) to synthesize intermediate frames, turning choppy footage into fluid slow motion.
- Open the CapCut App, tap New Project, select your clip, and tap Add.
- Tap the video in your timeline, then select Speed > Normal.
- Drag the slider down to your target speed (e.g., 0.3× to 0.5×).
- Tap Make it smoother (or Smooth Slow-Mo) directly beneath the slider and select Optical Flow / Better Quality.
- Tap the checkmark. The app will take a few moments to generate the missing frames.
- Tap the Export arrow in the top right to save the file at 1080p or 4K.
Why the Video May Look Choppy
A regular video may appear less smooth when slowed down because it contains fewer frames per second. For better results:
- Record action videos in Slo-Mo mode.
- Use good lighting.
- Keep the iPhone steady.
- Avoid slowing a normal video too much.
- Export the final video at a suitable resolution.
Pro-Tips for Shooting Better Slow-Motion on iPhone
While software can work wonders, the best slow-motion videos start with good raw footage. Keep these points in mind while recording:
- Shoot in Bright Light: Shooting slow-motion video requires a very fast shutter speed. If you are in a dark room, your iPhone will struggle, and the footage will appear grainy and flickering. Always shoot slow-motion video in well-lit areas or outdoors in daylight.
- Use the Right Frame Rate: If you know you want to slow a video down later, shoot it in 4K at 60 frames per second (fps). Go to Settings > Camera > Record Video and ensure 4K at 60 fps is checked.
- This gives you double the frames to work with, allowing for a beautiful 50% slow-down without choppiness.
- Keep it Steady: When a video is slowed down, camera shakes are magnified. Keep your elbows close to your body, use both hands, or get an affordable mobile tripod or gimbal for smooth panning shots.
- Avoid flickering lights indoors: Standard household bulbs flicker at 50 Hz or 60 Hz. When filming at 120 or 240 fps, this results in visible horizontal banding or flickering. Therefore, use natural light or high-frequency LED video panels.
- Clean Your Lens: It sounds simple, but a smudge on your iPhone lens will cause light flares that look terrible in slow motion. Give your lens a quick wipe with a microfiber cloth before hitting record.
Conclusion
Slowing down videos on your iPhone has become easier than ever if you use the right tools. Use the Photos app for quick adjustments to native slow-mo clips, iMovie for standard videos, and CapCut or InShot when you want AI-powered, cinematic smoothness. The next time you witness a great moment, don’t just record it—slow it down and let your audience savor the details!